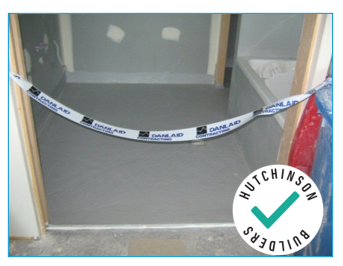
1.1 Protect waterproof membranes! It may be a substrate but this is as critical as a finished surface!
Blatant disregard for waterproof membranes should not be tolerated. Back charging doesn’t hit the individual. Remove them offsite for a day to begin with. When they don’t get paid they might think twice next time.
1.2 Baths will be covered immediately on installation as shown below.
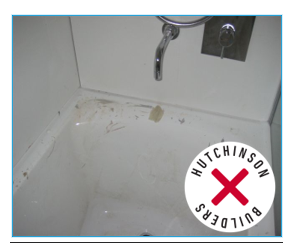
Above - Damaged bath due to poor protection
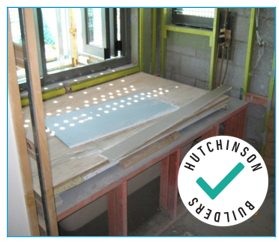
Above - Well protected bath with Bubble wrap and ply overlay
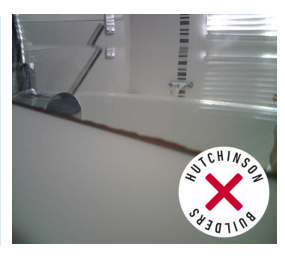
Above - Frameless mirror etch to edge
1.3 Frameless mirrors have a tendency to etch around the perimeter. Prevention of this can be through the use of a vinyl backing over the painted silvering that gives mirrors their reflective properties.
Preference is for edges of mirrors to be framed to conceal this often unavoidable problem. Consult your desiger where
Get written acceptance of risk transfer from the Owner where frames are not preferred.
1.4 Bench tops, vanity units and sinks with be sign posted with protection warning immediately after installation.
1.5 Marble, granite or similar bench tops or floors will be protected with a suitable cover during post trade works.
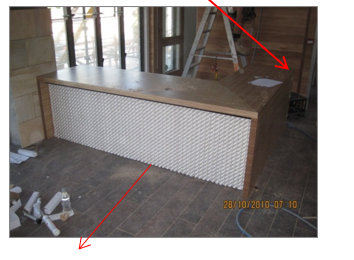
Above -Newly Installed Joinery prior to Protection
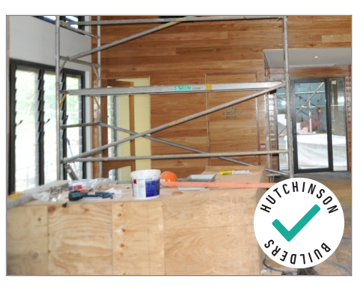
Above - Protection applied immediately following install & quality compliance checks.
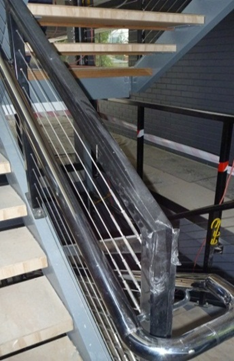
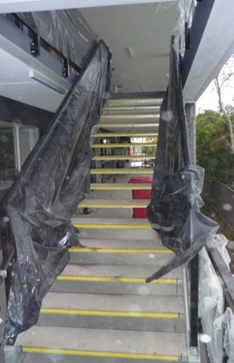
1.6 Polished stairs, access ways through finished floors or internal handrails are to be covered and impact protected until the building or unit has achieved ‘lock up’.
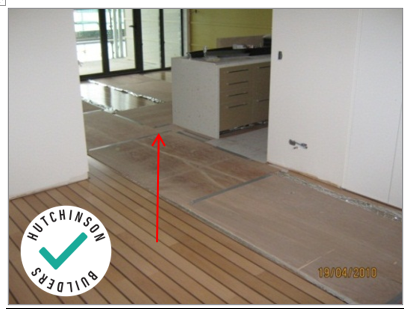
Above - Protection placed over timber flooring. Consult the manufacturer for an appropriate material to ensure sweating under protection does not cause more damage through ‘sweating’ (Refer Moisture Policy).
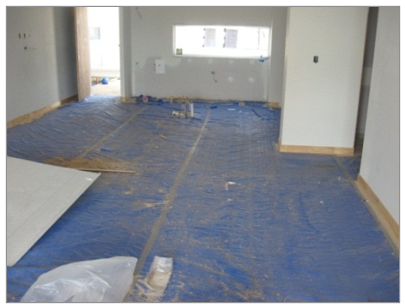
Above - Protection placed over vitrified tiles
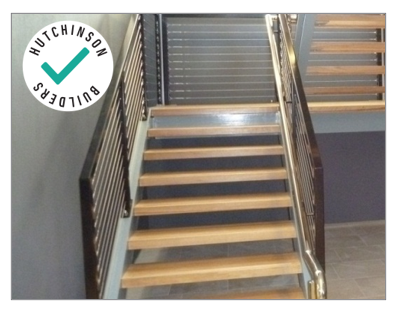
Above - Protection removed prior to completion
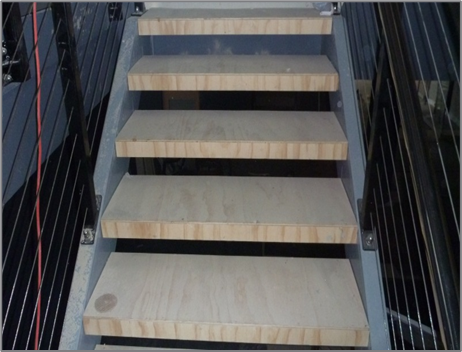
Above - Protection over timber stair treads
1.7 Tape handrails and protect glass
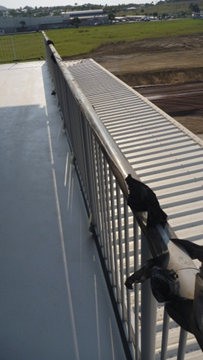
1.8 Door thresholds or sills are to be fully covered and impact protected until the building is locked up on completion.
1.9 Where thresholds or sills are subject to heavier construction traffic an impact protection ramp or bridge will be installed.
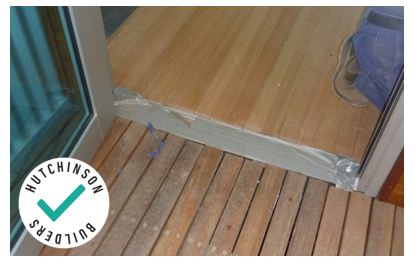
Above - Taped protection over aluminium sill – minor traffic
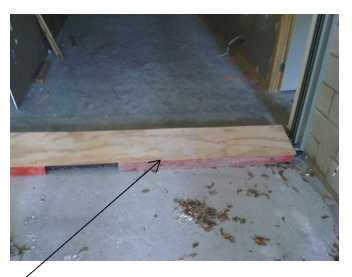
Above - Ply protection over aluminium sill – heavy traffic/ trolleys etc - Removable to allow lock up daily.
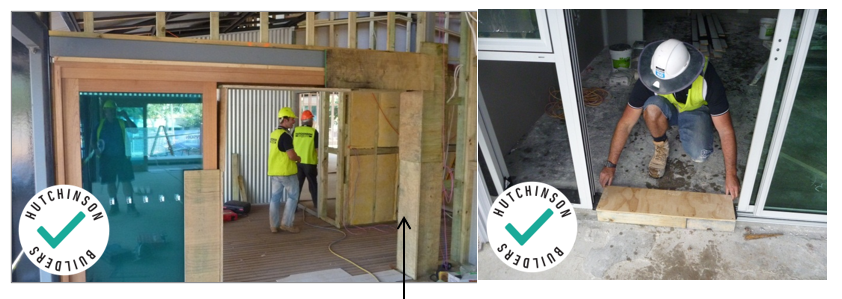
Above - Protection to Openings
1.10 A MAJOR issue that occurs on almost every site is failure to adequately protect drainage lines from mud, slurry, rubbish, bedding, tiler’s spacers and so on. It is imperative that Wondercap are used internally and suitable geo-fabric protection provided to external drainage lines.
1.11 The plumber is responsible to ensure the flexible dish washer outlet pipe is not kinked and is not crushed under or behind the dishwasher. This results in damage to joinery and floors when the dishwasher fails as a result of blocked drainage lines.
1.12 Double check the water connection line to the back of refrigerators where installed with a plumbed icemaker etc
1.13 All appliances are to be cover protected during any painting, plaster works and at any time work are being carried out over or near the appliance.
1.14 Smoke detectors and sprinkler heads will be cover protected until works are completed.
1.15 Disposable Booties will be provided at all entry areas. No entry will be permitted into units or areas post lockup without boot protection. There is no exception.
1.16 Doors are to be locked on completion of a unit, building or part of a building on completion. Doors will be signed: No Entry without HB permission. The HB person responsible for allowing entry will record details of the entry and reasons and check for damage on completion of works.
1.17 Remember also to use tapes and adhesives when applying protection that will not create a quality issue in themselves such as glue residues on the finished surface or peeling of finished paints during removal.
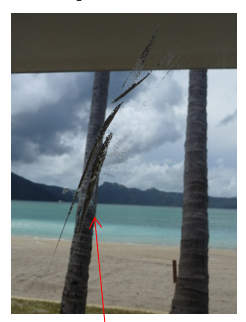
Above - taping over glass that would not come off with chemicals – and scraping just scratched glass.