- 6 Minutes to read
- Print
- PDF
2. Concrete - The Process
- 6 Minutes to read
- Print
- PDF
Pre-Pour
2.1 Check the weather forecast to assist in the planning of the date/time for pouring.
2.2 The concrete foreman should have a plan of the slab with the required levels and finishes marked up clearly on the drawings. He should be able to identify where floor wastes to which he has to create falls to, understand the required cross falls in balconies and decks etc. He should know what he is supervising just as you should. YOU should be ensuring this is the case and not assuming he is “all over it”. Chances are he is not.
2.3 The concrete foreman should have setup his laser, or dumpy as the case may be on a solid surface (not a deck that bounces, or moves when the concrete commences pour). It should be set back to a CONTROL point that is unaffected by the pouring activities that can be referenced during the pour to ensure the laser has not been affected by movement during the pour). Sounds simple – yet this is consistently poorly completed and not addressed by our supervision.
2.4 Check this yourself during formwork/steel fixing - using a correctly calibrated laser or dumpy level check the heights of the deck and steel. If you do not have this equipment in a maintained state see your Team Leader.
2.5 The concreter should check the blowdown of the decks has been completed and that all able-flex, bond breakers, dowels, rebates, floor wastes cable trays etc. are in place and are adequately fixed for the pouring operations and covers are adequate. He should be planning how he is going to pour around rebates to ensure they are not displaced.
2.6 Plan the starter bars – sometimes you will get a better finish installing these later to allow access for the concrete placement and finish operations.
2.7 Agree on the timing for the delivery of the concrete and during pouring agree with the concrete foreman on the amount and timing on the final “plus” load in a pour to ensure there is no delays that may result in a cold joint.
2.8 Agree prior to pouring the need for any accelerator for areas of the slab as this affects the timing of the finishing of the slab.
2.9 Check the formwork system is correct. This is covered below in “formwork” but essentially, a poorly formed slab can have excessive deflection once you add 100 tonnes of wet concrete to it and this may be reflected in the finished surface once it is set. The concreter may actually do a good job and it is ruined because the form worker did not have enough frames/braces/bearers/back props etc.
2.10 Ensure the method for curing is clear and agreed on prior to commencing. You don’t want to find out later that there was not enough product/s on site, or that there is an integral hardener/curing agent that is applied during pour. Poor curing from lack of hydration control may result in shrinkage and cracks, and excessive water may result in laitance (white milky lime/cement residue on the slab surface that results in a weakened surface) – both of which can require remedial works and affect following finishes.
Place and Finish
2.11 Check the weather again. Remember a rain damaged slab results in the degradation of the surface finish by “watering” down the surface. The top surface is weakened, possibly washed out badly exposing aggregate etc, and can usually only by rectified by diamond grinding and ardit repair to the floor (internal only) or demolishing the slab completely and repouring (typically required for external heavy traffic slabs).
2.12 Set up your own dumpy/laser and monitor the pour yourself. If you have ownership of the pour – if you have worked through the expectations with the concrete foreman and been involved through the pre-pour phase, then you should be supervising the pour on the day – at the very least put a leading hand on the task and make sure he pulls the concrete foreman in line with quality.
2.13 If there are delays or irregular deliveries of the concrete, make sure the concreters maintain a “wet edge” for the concrete to avoid a “cold joint” (where the concrete has set and the fresh concrete placed against it). This is not MONOLITHIC (a single concrete pour) and is structurally unacceptable as well as having an impact on following finishes (cracking etc) which could allow water/moisture penetration.
2.14 REBATES, HOBS and STAIRS are not poured by dumping concrete into the top of these elements because the concreter has not enough men to carefully place the concrete. This will “BLOW” out the side of the formwork and there is no way of fixing it during the pour. Place enough concrete adjacent to these elements and get a well compacted (vibrated) base under the hob or rebate or the like; AND THEN when there is support under the hob, rebate or the like, carefully (shovel - not 4 inch pump line) the hob into place. Failure to do this simple task correctly results in countless thousands of dollars on concrete cutting, countless hours of labourers on jackhammers and patching.
2.15 Remember the BCA/NCC has a zero (0) tolerance level to differences between the width of each going and height of each riser not the 15mm the concreter claim to have under the Guide to Construction Tolerances (AS3600) “cause it is just concrete”. Remember it may be concrete but it’s a stairway too.
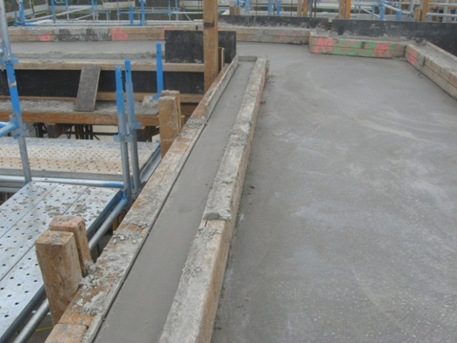
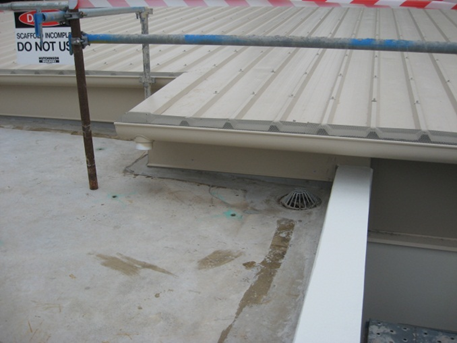
2.16 Finally – finishing is preferably not a rainy day or night time activity. It is not an activity that is not worth supervising (Supervise it). It is an activity that requires the concreter the opportunity to get the Quality right. It requires your review there and then to determine if the finish is acceptable - that the broom finish is acceptable (too stiff or too light) and consistent and that brooming from each side of a slab is not a mess in the middle where the brooming meets. Ensure that car parks are not burnished into a highly slippery surface in car parks by the steel trowel, which prevents a good adhesion of the epoxy floor sealers or even a required slip resistant surface.
Patching and rectification
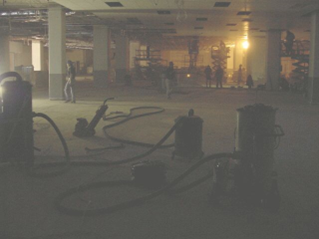
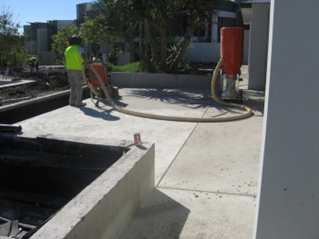
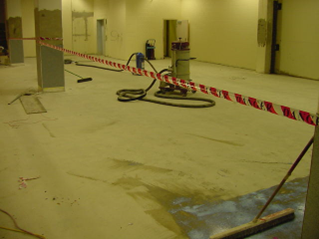
2.17 Get it right first time – apart from the direct costs there are potential implications from remedial works through grinding of poor floor finishing via a reduced reinforcing cover which will accelerate corrosion, there is also the creation of concrete dust in rectification works that is a health hazard and simply covers the jobsite (and potentially neighbouring properties, cars etc) in dust (regardless of the enforcement of dust control measures) – it is still a common problem to fail to adequately control this mostly preventable activity which more often than not leads to a poor and unacceptable quality both pre and post repair.
2.18 The Concreter is to address all quality issues, from lack of compaction (vibration), surface finish (off form works), and surface tolerance for flatness and level and stair and rebate tolerances.
2.19 Complete a slab survey and spot mark areas that require works with the concreter and to agree scope of work to be completed as part of his works to comply with the specification, good practice. Know what repairs are required and how they will be undertaken prior to commencement.
